Compost for Garden and How to Make them?
Are you ready to take your gardening game to the next level? Imagine transforming your garden into a lush oasis of vibrant greenery and flourishing blooms – all with the power of DIY compost. In this step-by-step guide, we will show you how to create your very own compost at home, using simple materials and a little bit of know-how. From selecting the right ingredients to building your compost bin and troubleshooting common issues, we’ve got you covered. Get ready to roll up your sleeves and watch your garden thrive like never before with homemade compost.
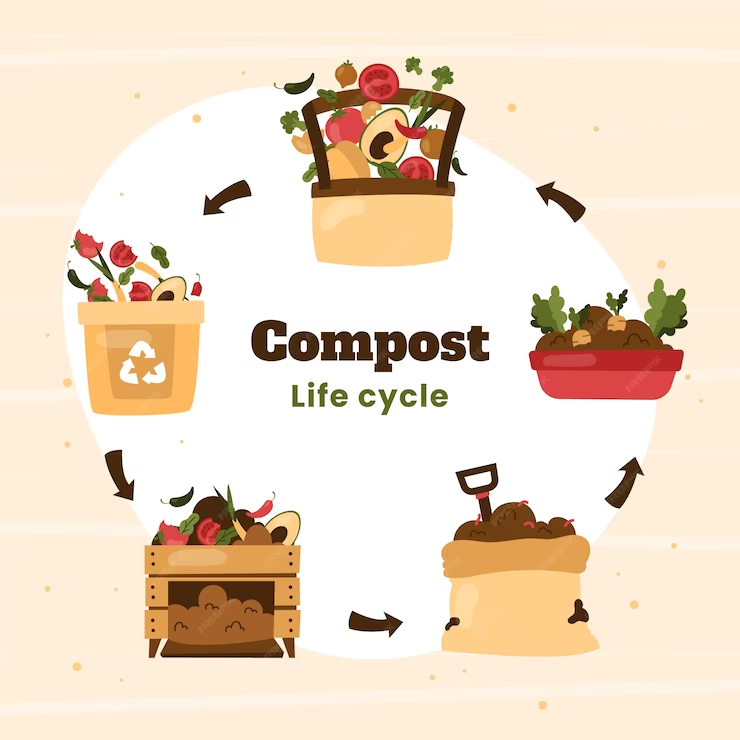
What is Compost?
Compost, or “black gold” is a nutrient-rich soil amendment created by decomposing organic materials such as food scraps, yard waste, and other biodegradable materials. Composting is a natural process, where microorganisms such as bacteria and fungi break down organic matter into a dark, crumbly substance known as humus.
Compost provides numerous benefits to soil health and plant growth, including improving soil structure, increasing water retention, enhancing nutrient availability, and promoting beneficial soil organisms. It’s an environmentally friendly way to recycle organic waste and reduce the amount of material sent to landfills.
Types of Compost Bins
You can do your own compost at home in a backyard compost bin or pile! The process typically involves layering organic materials, keeping the pile aerated by turning it regularly, and maintaining the right balance of carbon-rich (e.g., leaves, straw) and nitrogen-rich (e.g., food scraps, grass clippings) materials, as well as moisture levels.
When it comes to composting, the type of bin you choose can greatly impact the process and outcome of your compost. There are various options to consider, from simple homemade bins made out of wood pallets or wire mesh to more sophisticated tumbler or rotating bins. Each type of bin has its own advantages and disadvantages, so it’s important to choose one that fits your space, budget, and composting goals. By selecting the right compost bin for your needs, you can make the composting process more efficient and enjoyable.
Compost bins example
- Stationary Bins: These are typically made of plastic, wood, metal, or wire mesh and come in various sizes and shapes. Stationary bins are placed directly on the ground and are suitable for backyard composting. They can be open-bottomed or have a solid base.
- Tumbling Bins: Tumbling compost bins have a drum or barrel design that allows for easy mixing or turning of compost materials. They are usually mounted on a stand or have a rotating mechanism that enables users to turn the bin, speeding up the composting process. Tumbling bins are ideal for people who want a faster composting process and may have limited space.
- Worm Bins (Vermicomposting): Worm bins, also known as vermicomposting bins, use red worms to break down organic materials into compost. These bins are smaller and can be kept indoors or outdoors, making them suitable for apartments or homes with limited outdoor space. Worm bins require a bedding material such as shredded newspaper or cardboard along with food scraps for the worms to thrive.
- Stackable Bins: Stackable compost bins consist of multiple trays or compartments that can be stacked on top of each other. As composting progresses, trays are added or removed, allowing for easy harvesting of finished compost. Stackable bins are space-efficient and are suitable for balcony as well.
- In-Ground Bins: In-ground composting involves burying organic materials directly into the soil. This method requires digging a hole or trench in the ground and layering organic matter. In-ground bins are low-maintenance and help enrich the soil directly, but they may not be suitable for all climates or soil types.
- Compost Tumblers: Compost tumblers are similar to tumbling bins but are usually smaller. They come with a handle to spin the tumbler to aerate the compost. They offer the convenience of tumbling bins with a smaller footprint, making them suitable for urban or small-space composting.
Selecting the Right Materials
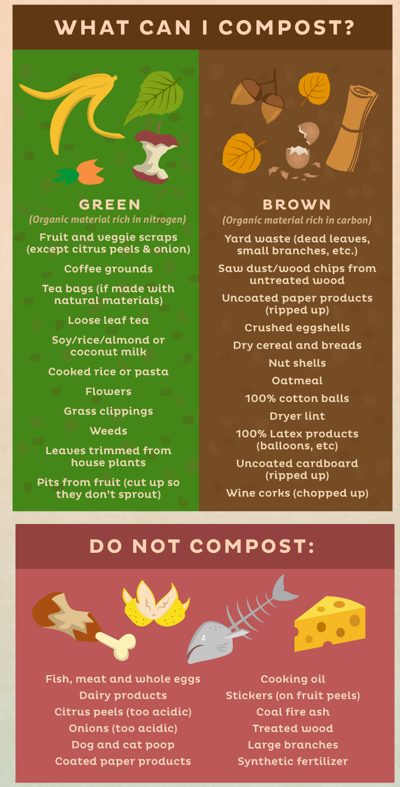
Selecting the right materials for your compost pile is crucial to its success. A good mix of nitrogen-rich “greens” and carbon-rich “browns” will help create a balanced compost. A wrong ratio or adding things like meat, dairy, and oily foods into your compost can attract pests and create unpleasant odors. By carefully choosing your materials, you can ensure a healthy and productive compost for your garden.
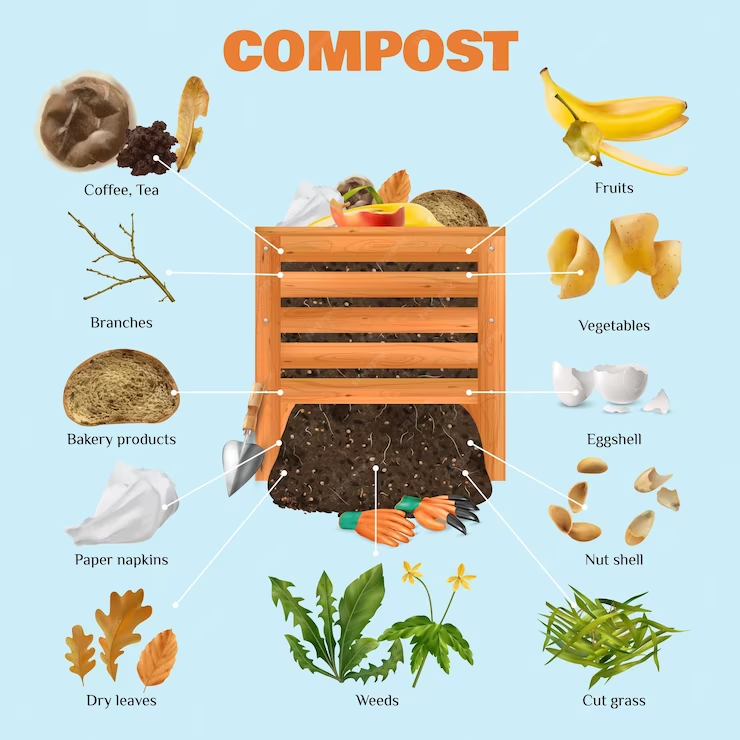
Here is a quick guide of suitable materials for compost bins:
- Greens (Nitrogen-rich materials):
- Fruit and vegetable scraps
- Coffee grounds and filters
- Tea leaves and bags
- Grass clippings (in moderation)
- Green plant trimmings
- Manure from herbivores (e.g., cow, horse, rabbit)
- Browns (Carbon-rich materials):
- Dry leaves
- Straw and hay
- Shredded newspaper and cardboard
- Sawdust (from untreated wood)
- Dry plant trimmings
- Cornstalks and husks
- Other organic materials:
- Eggshells (crushed)
- Wood ash (in moderation)
- Fireplace or untreated wood ashes
- Dryer lint (from natural fibers like cotton or wool)
Maintaining the Composting Process
To maintain the composting process, it’s essential to regularly monitor and manage your compost pile. This involves turning the pile every few weeks to introduce oxygen, which helps speed up decomposition. Compost materials should be moist, similar to a wrung-out sponge. If the compost is too dry, add water; if it’s too wet, add more dry, carbon-rich materials. Smaller pieces decompose faster, so it’s beneficial to chop or shred larger materials before adding them to the compost bin.
Additionally, remember to balance the greens (nitrogen-rich materials like food scraps and grass clippings) with browns (carbon-rich materials like leaves and straw) to create a healthy compost mix. By tending to your compost pile with care and attention, you’ll soon be ready to reap the benefits of using your homemade compost in your garden.
The composting process takes time, ranging from a few weeks to months, so be patient and do not rush the process. Maintaining a balanced mix of carbon-rich (browns) and nitrogen-rich (greens) materials is crucial for efficient decomposition. An optimal C:N ratio facilitates microbial activity and speeds up composting. Turning or aerating the compost pile regularly introduces oxygen, which is essential for aerobic decomposition. Proper aeration speeds up the composting process.
Using Your Homemade Compost
There are some indications to know that your homemade compost is ready to be use in the garden.
Texture and Appearance: Finished compost should have a dark, crumbly texture that resembles soil. It should be loose and easy to crumble, with a pleasant earthy smell. The original materials should be unrecognizable, indicating that they have broken down completely.
Temperature: During the active composting process, the temperature inside the compost pile will rise as microorganisms break down organic matter. When the composting process is complete, the temperature will stabilize and eventually decrease. Use a compost thermometer to monitor the temperature; when it remains consistently at or near ambient temperature, this indicates that the compost is complete.
Color and Smell: Finished compost should have a rich, dark color and a pleasant, earthy smell. Foul smelling compost contains uncomposted or half-composted organic materials. A foul smell could also be due to incorrect carbon:Nitrogen ratio.
Sifting Test: If you’re unsure whether your compost is ready, you can perform a simple sifting test. Pass a small amount of compost through a mesh screen or sieve to remove any large, uncomposted materials. The material that passes through the sieve is likely finished compost, and you can return the remaining material to the compost pile for further decomposition.
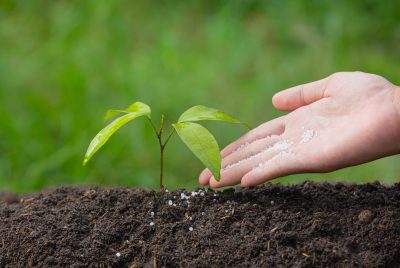
Spread a layer of compost over your garden beds to enrich the soil with essential nutrients and improve its structure. You can also mix compost into potting soil for container plants or use it as mulch around trees and shrubs to help retain moisture and suppress weeds. By incorporating your homemade compost into your gardening routine, you’ll see healthier plants and better yields in no time.
Troubleshooting Common Composting Issues
Compost takes a long time to break down: This could be due to a lack of moisture or aeration. Make sure to regularly turn your compost pile to introduce oxygen and break up any clumps. Check the moisture level of your compost – it should feel like a damp sponge, not too wet or too dry.
Smelly compost pile: This could be a sign of anaerobic conditions, where there is not enough oxygen present in the pile. To combat this, mix in more dry materials like leaves or shredded paper to improve aeration and reduce odor.
Many pests: It may be because you are adding food scraps that are too large or too wet. To deter pests, chop up your food scraps into smaller pieces and bury them deeper within the compost pile. You can also cover your compost with a layer of leaves or straw to prevent pests from accessing it.
Should I add soil to the compost pile?: While adding soil can be beneficial, it’s not always necessary. Especially if you’re using a diverse mix of organic materials and actively managing your compost pile. Nonetheless, there are several beneficial reasons to add soil to your compost. For example, introducing microorganisms including bacteria, fungi, and other beneficial organisms, which are essential for the composting process. Adding a small amount of soil to your compost pile can help inoculate it with these microorganisms, speeding up decomposition. Adding soil can also provide structure to your compost pile, aiding in aeration and preventing compaction. This allows air to circulate freely within the pile, promoting aerobic decomposition.
Conclusion
By understanding the basics of composting, selecting the right materials, building and maintaining a compost bin, and troubleshooting common issues, you are well on your way to transforming your garden into a thriving oasis of greenery and blooms. Remember, the key to a successful garden lies in the simple yet powerful process of creating your own DIY compost. Start today and witness the magic of nature unfold in your backyard.